
Cord Organization 101
Does anybody else think there is nothing quite as stressful as cords everywhere?! They end up tangled in your office, kitchen, living room, and bathroom. It ends up taking you 20 minutes to find the cord you were looking for, and then another 5 minutes just to detangle it. Sound familiar? If that’s the case I am happy to say I am here to help, because the days of jumbled cords are over.
Today, I am going to provide you with some of my favorite DIY cord organization options and cord organization products. I know it can seem overwhelming to tackle at first, but if you take a little bit of time to set up one of these cord organization systems, it will make all the difference in your day-to-day life.
Before establishing a system for your cords, step 1 is to take inventory of all the cords you have. Make sure you only keep the cords that you actually use. Donate or sustainably dispose of the cords you no longer need! We often lose track of what each cord is - so don’t be afraid to look it up to figure it out! Step 2 is to unpackage every cord (if you have the boxes still) and to immediately label them (I love this label maker from Brother P). Once you have completed these initial steps, it’s time to organize.
DIY
Organization Options:
Here are 7 ways to organize your cords with items you probably have around the house!


The Hair Tie Method: Grab a hair tie you have around the house (I prefer a thicker band so it won’t snap)! I like to wrap the cord in an oval-like shape and then secure it with the hair tie.
The Rubberband Method: Don’t have a hair tie around the house? No problem! The rubberband method is the exact same set-up! The only change will be using the rubberband to secure the cord in it’s place!
The Toilet Paper Roll Method: I love this method for a medium-sized cord (think phone charger size)! Start with a toilet paper roll (make sure all the toilet paper has been used/removed). Wrap the cord into an oval-like shape and place it within the hole of the toilet paper roll!
The Binder Clip Method: Have some loose cords around your office? This one's for you! Grab a spare binder clip and wrap up the cord (the same way you have the others) and then secure the cord by clipping the middle of the wrap.
The Zip Tie Method: I love to use this specific method for my longer and thicker cords (think extension cords). Wrap up the cord in a (you guessed it), oval-shape. Secure the shape with a zip tie (try to clip near the end of the cord so you don’t have a long loose end).
The Twist Tie Method: The twist tie is amazing for a variety of sized cords! It works perfectly for smaller cords, like headphones, or larger sized cords, like a laptop charger. Use the same way as the others!
The Painters Tape Method: Grab the biggest cord you have, wrap it, and secure the middle with two wraps of painters tape!
LIJ Favorite Cord
Organization
products
Hoping to take your cord organization to the next level? Here are a few of our products to store your cords and keep them all in one place


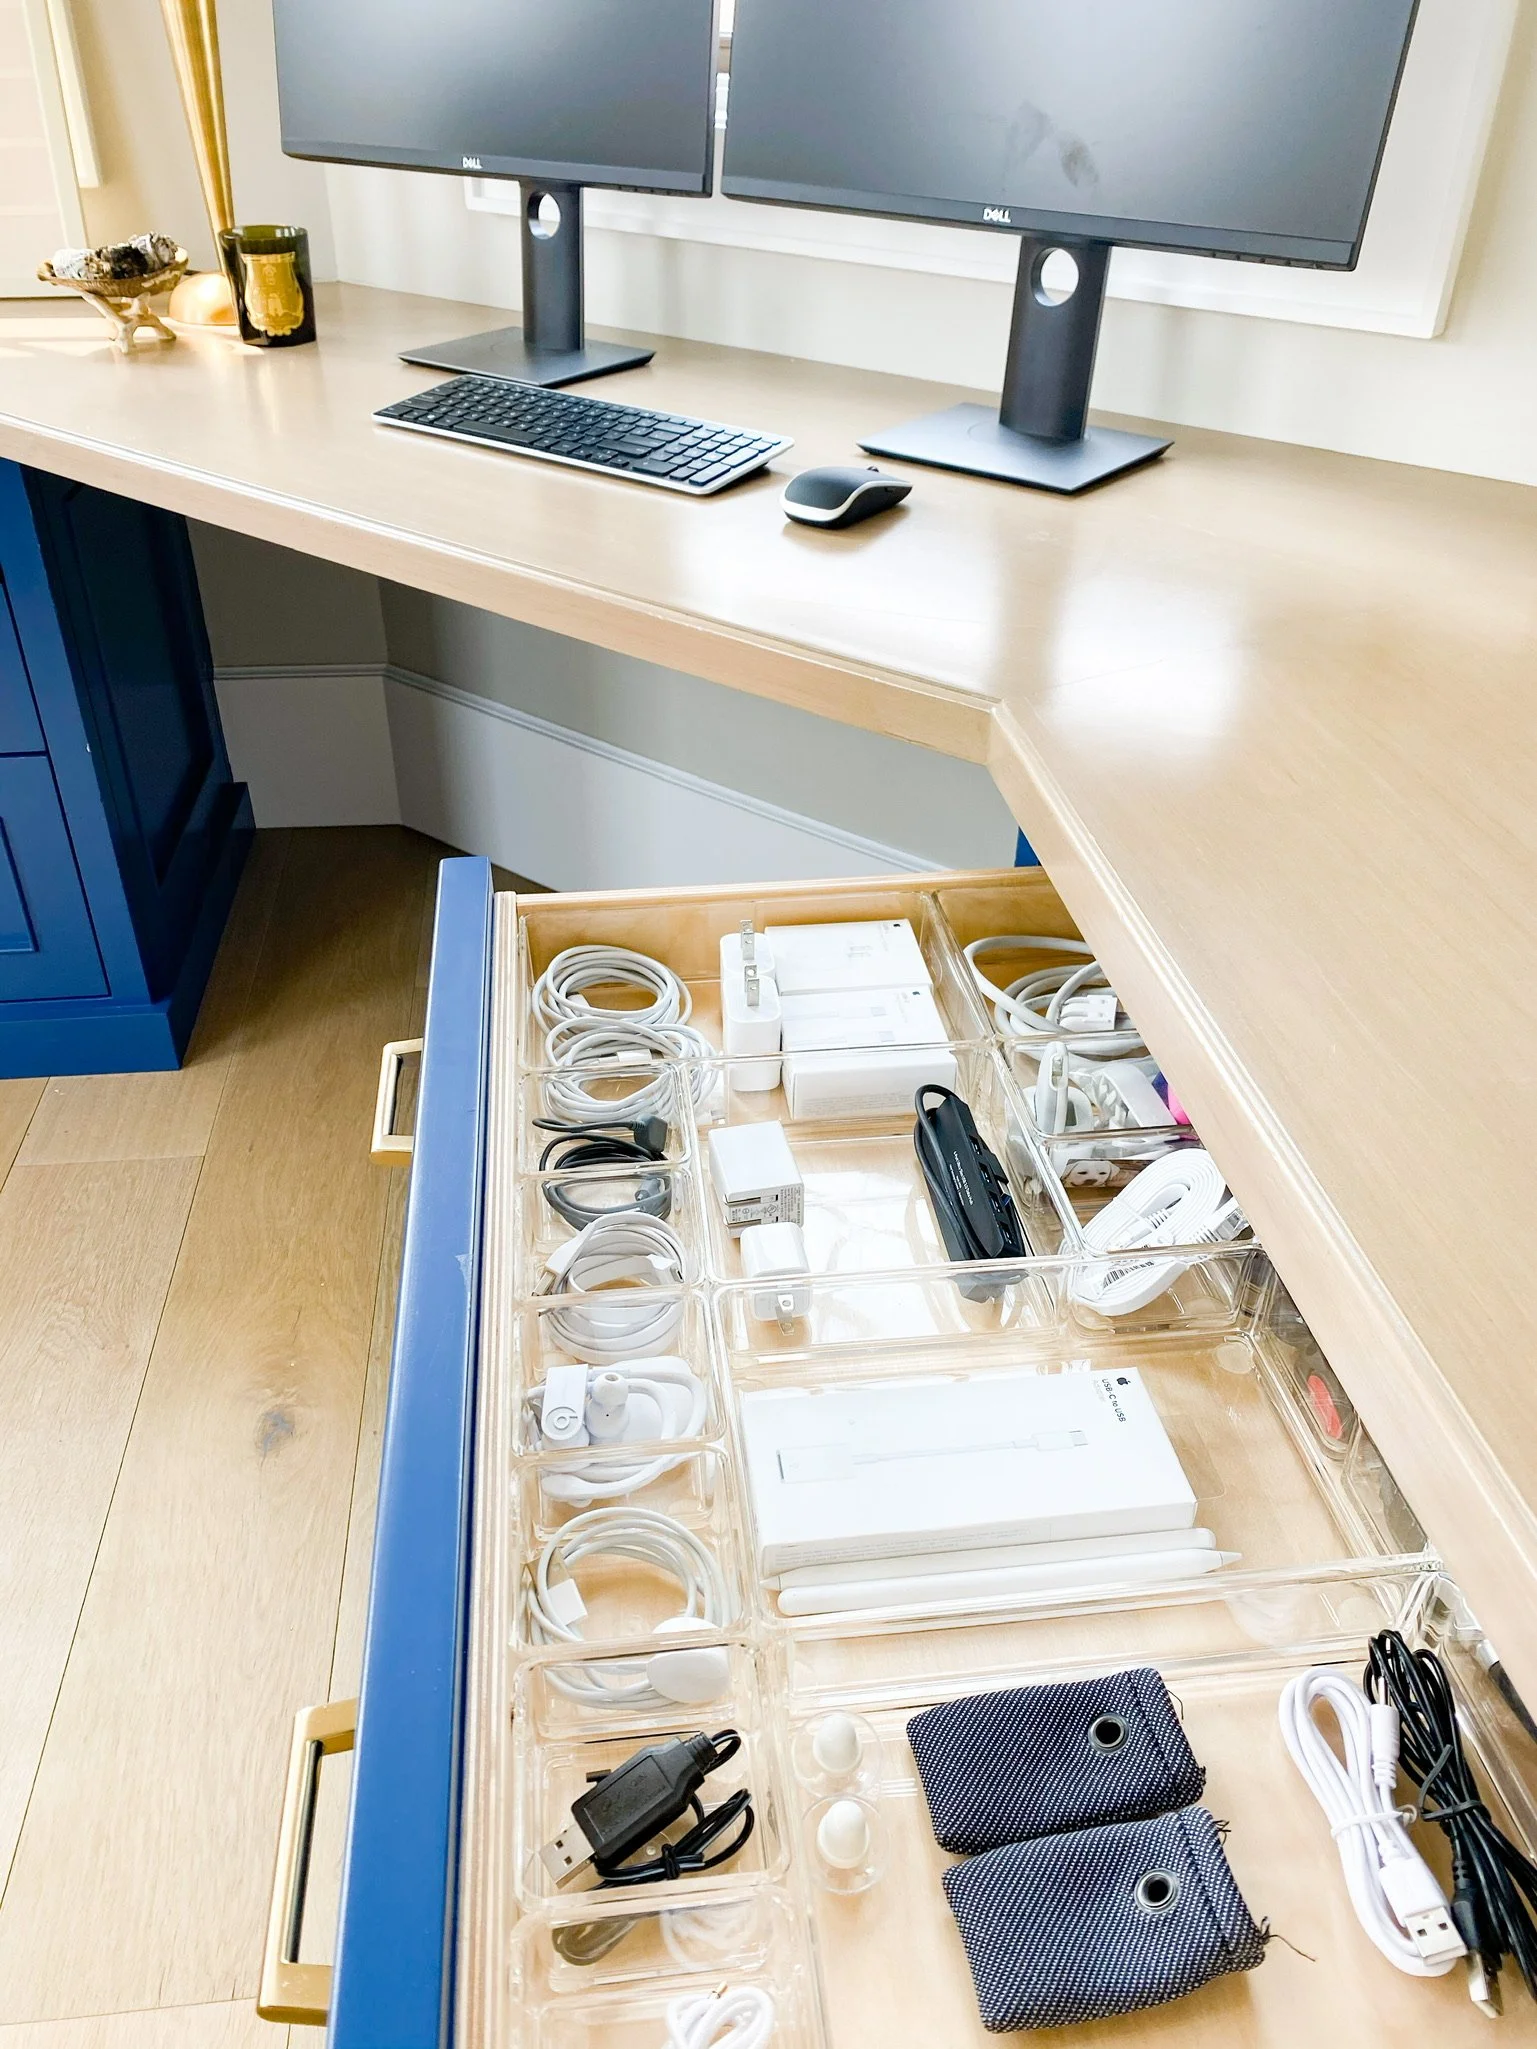
1. Cord Storage Carrier: This carrier is a dream for keeping all your cords in one place! I like to label each of the boxes, so I don’t have to open the compartment to see which cord it is. Added bonus because you can use whichever cord tie option you like to secure it before putting it in the carrier!
2. Cord Travel Case: Traveling with cords is one of our most frequently asked questions! Traveling is stressful enough, so keeping your cords in one carrying case makes things so much easier and more efficient. I love this one from Amazon!
3. Cable Storage Bin: Another one of my favorite storage options! I love this one for office spaces when I am working with only a few cords.
I hope this helps with all your cord organization needs! To watch a step-by-step video on the DIY options, make sure to check out our recent video on IG Reels!
xx
Jen