
How to Make a DIY Centerpiece For Thanksgiving

Hi Babe!
It's really exciting to team up with other amazing businesses and do something really beautiful together, so we partnered up with Life in Jeneral, to show you how YOU can dress up your holiday table with a little DIY magic! We want to guide you through a step-by-step to create a gorgeous floral centerpiece that will surround the cornucopia of mashed potatoes, rolls, and that turkey that may or may not be cooked to perfection. These florals are made to order, through Primary Petals and can be put together in eight easy steps! We hope these DIY centerpieces bring you some inspiration to create your own dreamy Thanksgiving centerpiece.
So without further adieu, let's get right to it.
STEP ONE

Collect your materials
You'll Need:
Flowers you ordered from Primary Petals x Life in Jeneral Collection
A low vase
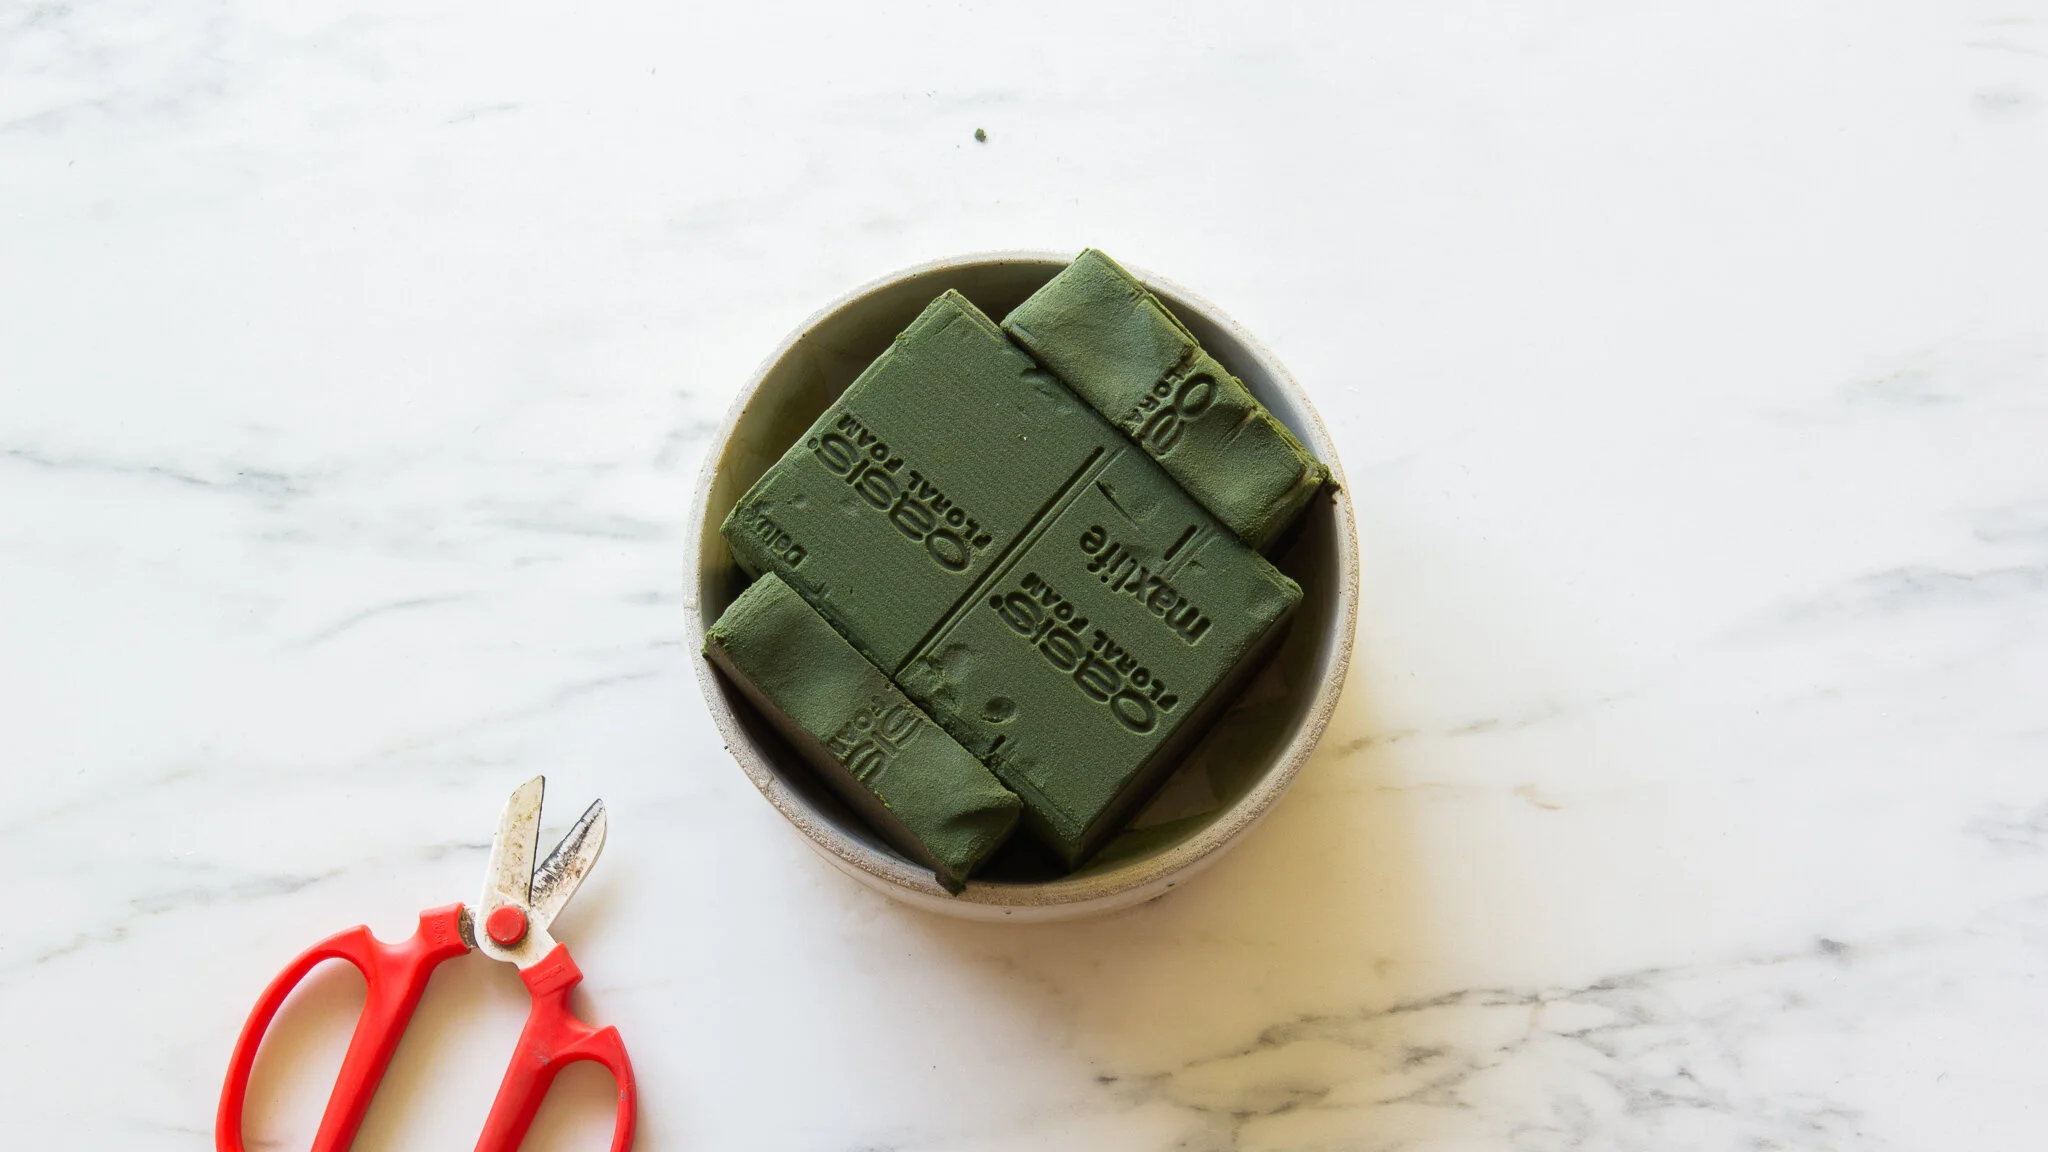
Brick of foam (it comes in the kit!)
Flower Clippers
Sharp knife (something that you don't use in your kitchen)
Small bucket to soak your floral foam
Fresh Water
Lazy Susan (optional)
STEP TWO
Soak the brick of foam in a bucket of water. A tip here is don't force the foam to sink to the bottom of the bucket. Let it sink itself! Once it's full submerged, wait 10-15 minutes so the pores of the foam can drink up as much water as possible.
STEP THREE

Prep the flowers. Be sure to trim the bottom of the flower stems and gently take off any leaves of the flower. This will give you a lot more space to play with in the foam.
STEP FOUR
Cut the foam using that utility knife to fit the vase. We cut ours in half and then quartered and played tetris until it fit in the vase. Fill the vase with water.
STEP FIVE

Begin with large structural pieces.


Ingredients: ilex berry and gold amaranthus, and half of the fall foliage
Like anything one builds, you want to start with a foundation. If the foundation is wonky, the rest of the build won't work so well. So start by taking the larger branch pieces to create a structure. When you are facing the front of the vase, place some branches as a high point and other branches on the opposite side as a low point (trimming the branches as needed to your desired length.)
For further information on the principles of design, download our FREE Principles of Design PDF.
STEP SIX
Place the secondary blooms

Ingredients: peach carnations and the yellow roses
This is where those little baby yellow roses come into play! These are what we call, secondary flowers. They are perfect for filling in holes that you see. The goal for this arrangement is to make it so you cannot see the green floral foam. For the carnations, these can be taller and shorter so place those around your arrangement at different heights.
STEP SEVEN
add in the focal flowers, next!

Ingredients: David Austin white garden roses
These roses add the pop of cream to the moodiness so place these around as you desire at different heights.
STEP EIGHT

Fill in any existing holes to your arrangement
Ingredients: The rest of the fall foliage
Now that you have most of your arrangement done, add the rest of the fall foliage as a finishing touch. Tweak the flowers as needed and fill up the vase with water again!
Then when you're done with your arrangement, tag us at @primarypetals and @lifeinjeneral and show us all your creativity. We hope you had a blast doing this arrangement and know that creativity is wherever the wind takes you in the design. Have fun, don't be hard on yourself if it's not exactly how you imagined. You made something beautiful.