Games, Puzzle, & Lego Storage
Let’s be honest, we’ve all had that moment where we are overwhelmed by keeping all the pieces from games, puzzles, and legos together. It’s a constant challenge of trying to keep all the components together while battling a cabinet, shoving everything in. The whole process starts to look like a game of Jenga, trying to keep all the puzzles, games, and legos stacked, without falling out. I am here to tell you that the days of chaotic cabinets (or any space you are working with) are over! I am here to show you my favorite ways to organize board games, puzzles, and legos!
Board Games
When it comes to board games, you want to confine them and structure them in a way that’s sustainable. My top tip for making this happen is utilizing zippered pouches. They are incredibly durable and semi-clear so you can see the contents within. Let’s discuss the process for transferring your games into these game-changing (no pun intended) pouches:
Take out & gather all your board games
Before storing and organizing anything, you will want to take inventory of all the games you have. From there, I like to order them by size so you know which size pouch you will need for each game.
2. Transferring games to pouches
I typically suggest taking note of what sized bags you’ll need before actually ordering and storing games. Nobody wants to have their games bursting at the seams of pouches too small. I, personally, love the variety pack from Amazon (you will get 21 packs with 7 different sizes). If you want to order a specific amount of each size, The Container Store has the pouches in Accessory, Letter, or Legal size (aka small, medium and large). Once you receive the pouches you need, and potentially practice a little trial-and-error, each game should find it’s new pouch home.
3. Label
Hoping to keep some of the nostalgia of the board game box (and label the pouch while doing so)? Use a box cutter to cut out the game box’s label and/or name (I recommend using the title that is written smaller on the box so it fits the pouch). Use cohesive to secure it on the outside (or inside) of the pouch. Make sure to place any instructions (or directions needed) within the pouch as well!
4. Create a system
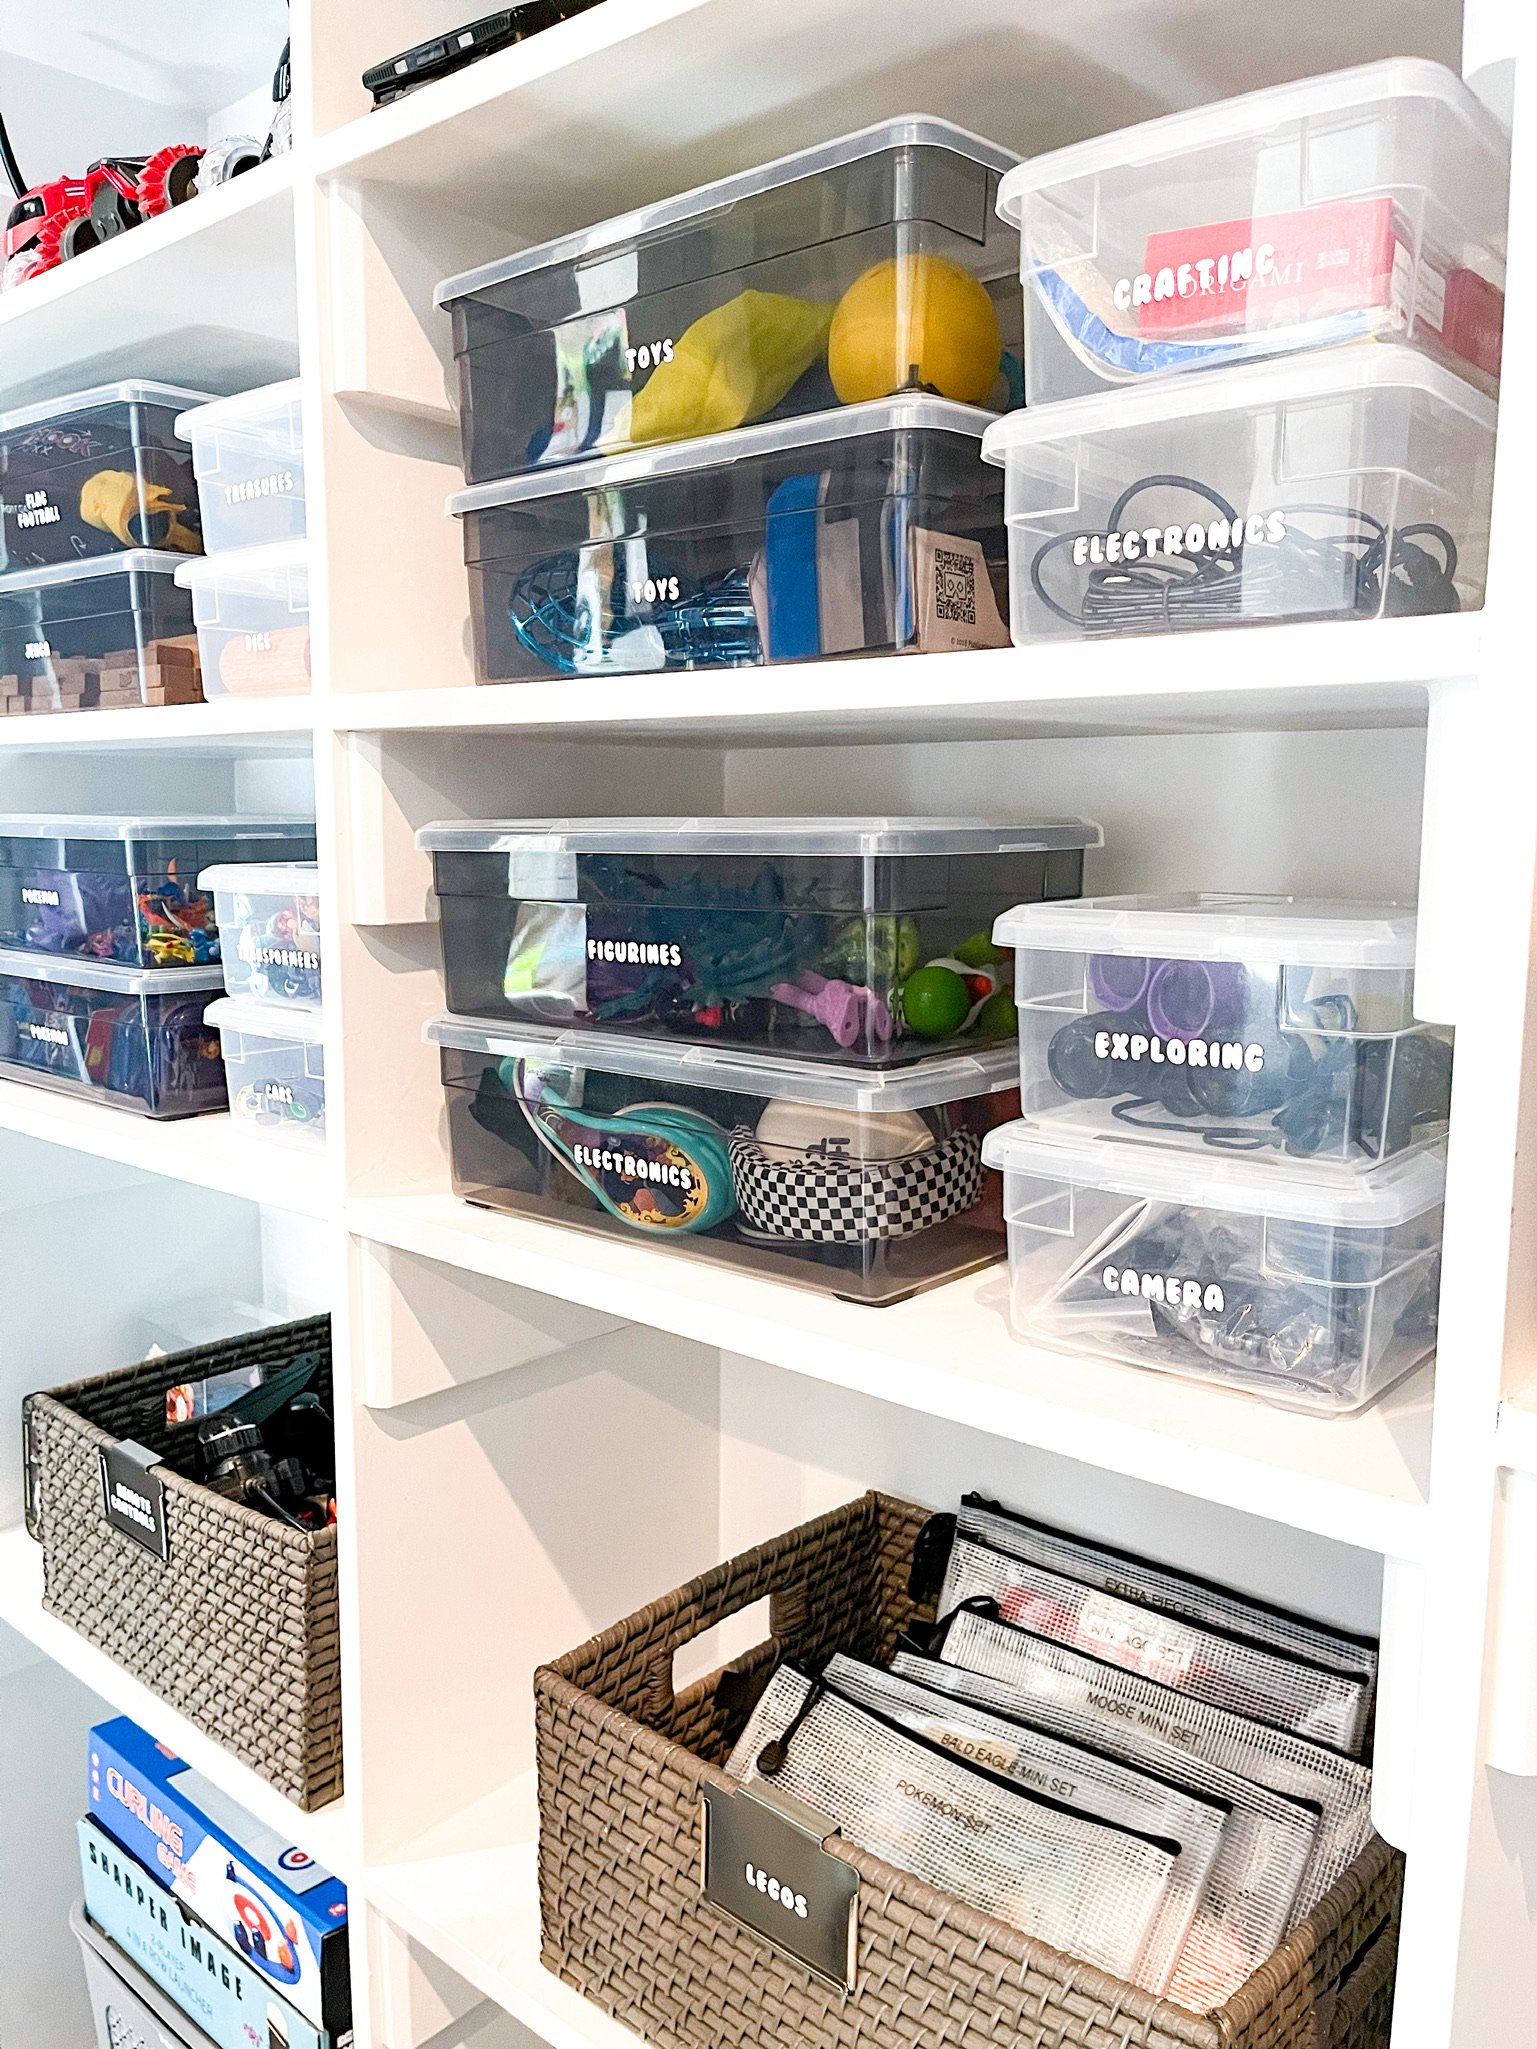
Now it’s time to set up a system for all of your game pouches. First and foremost, separate the pouches by size. From here, I like to choose one of two routes for each size section. If your games leave your pouches on the slender size, this maple rack is a dream for filing your pouches in a cabinet. If your pouches are slightly on the bulkier size, I love to file mine in these beautiful woven baskets.
5. Recycle
The last step, but certainly note least, is to recycle all those old board game boxes of yours!
Puzzles
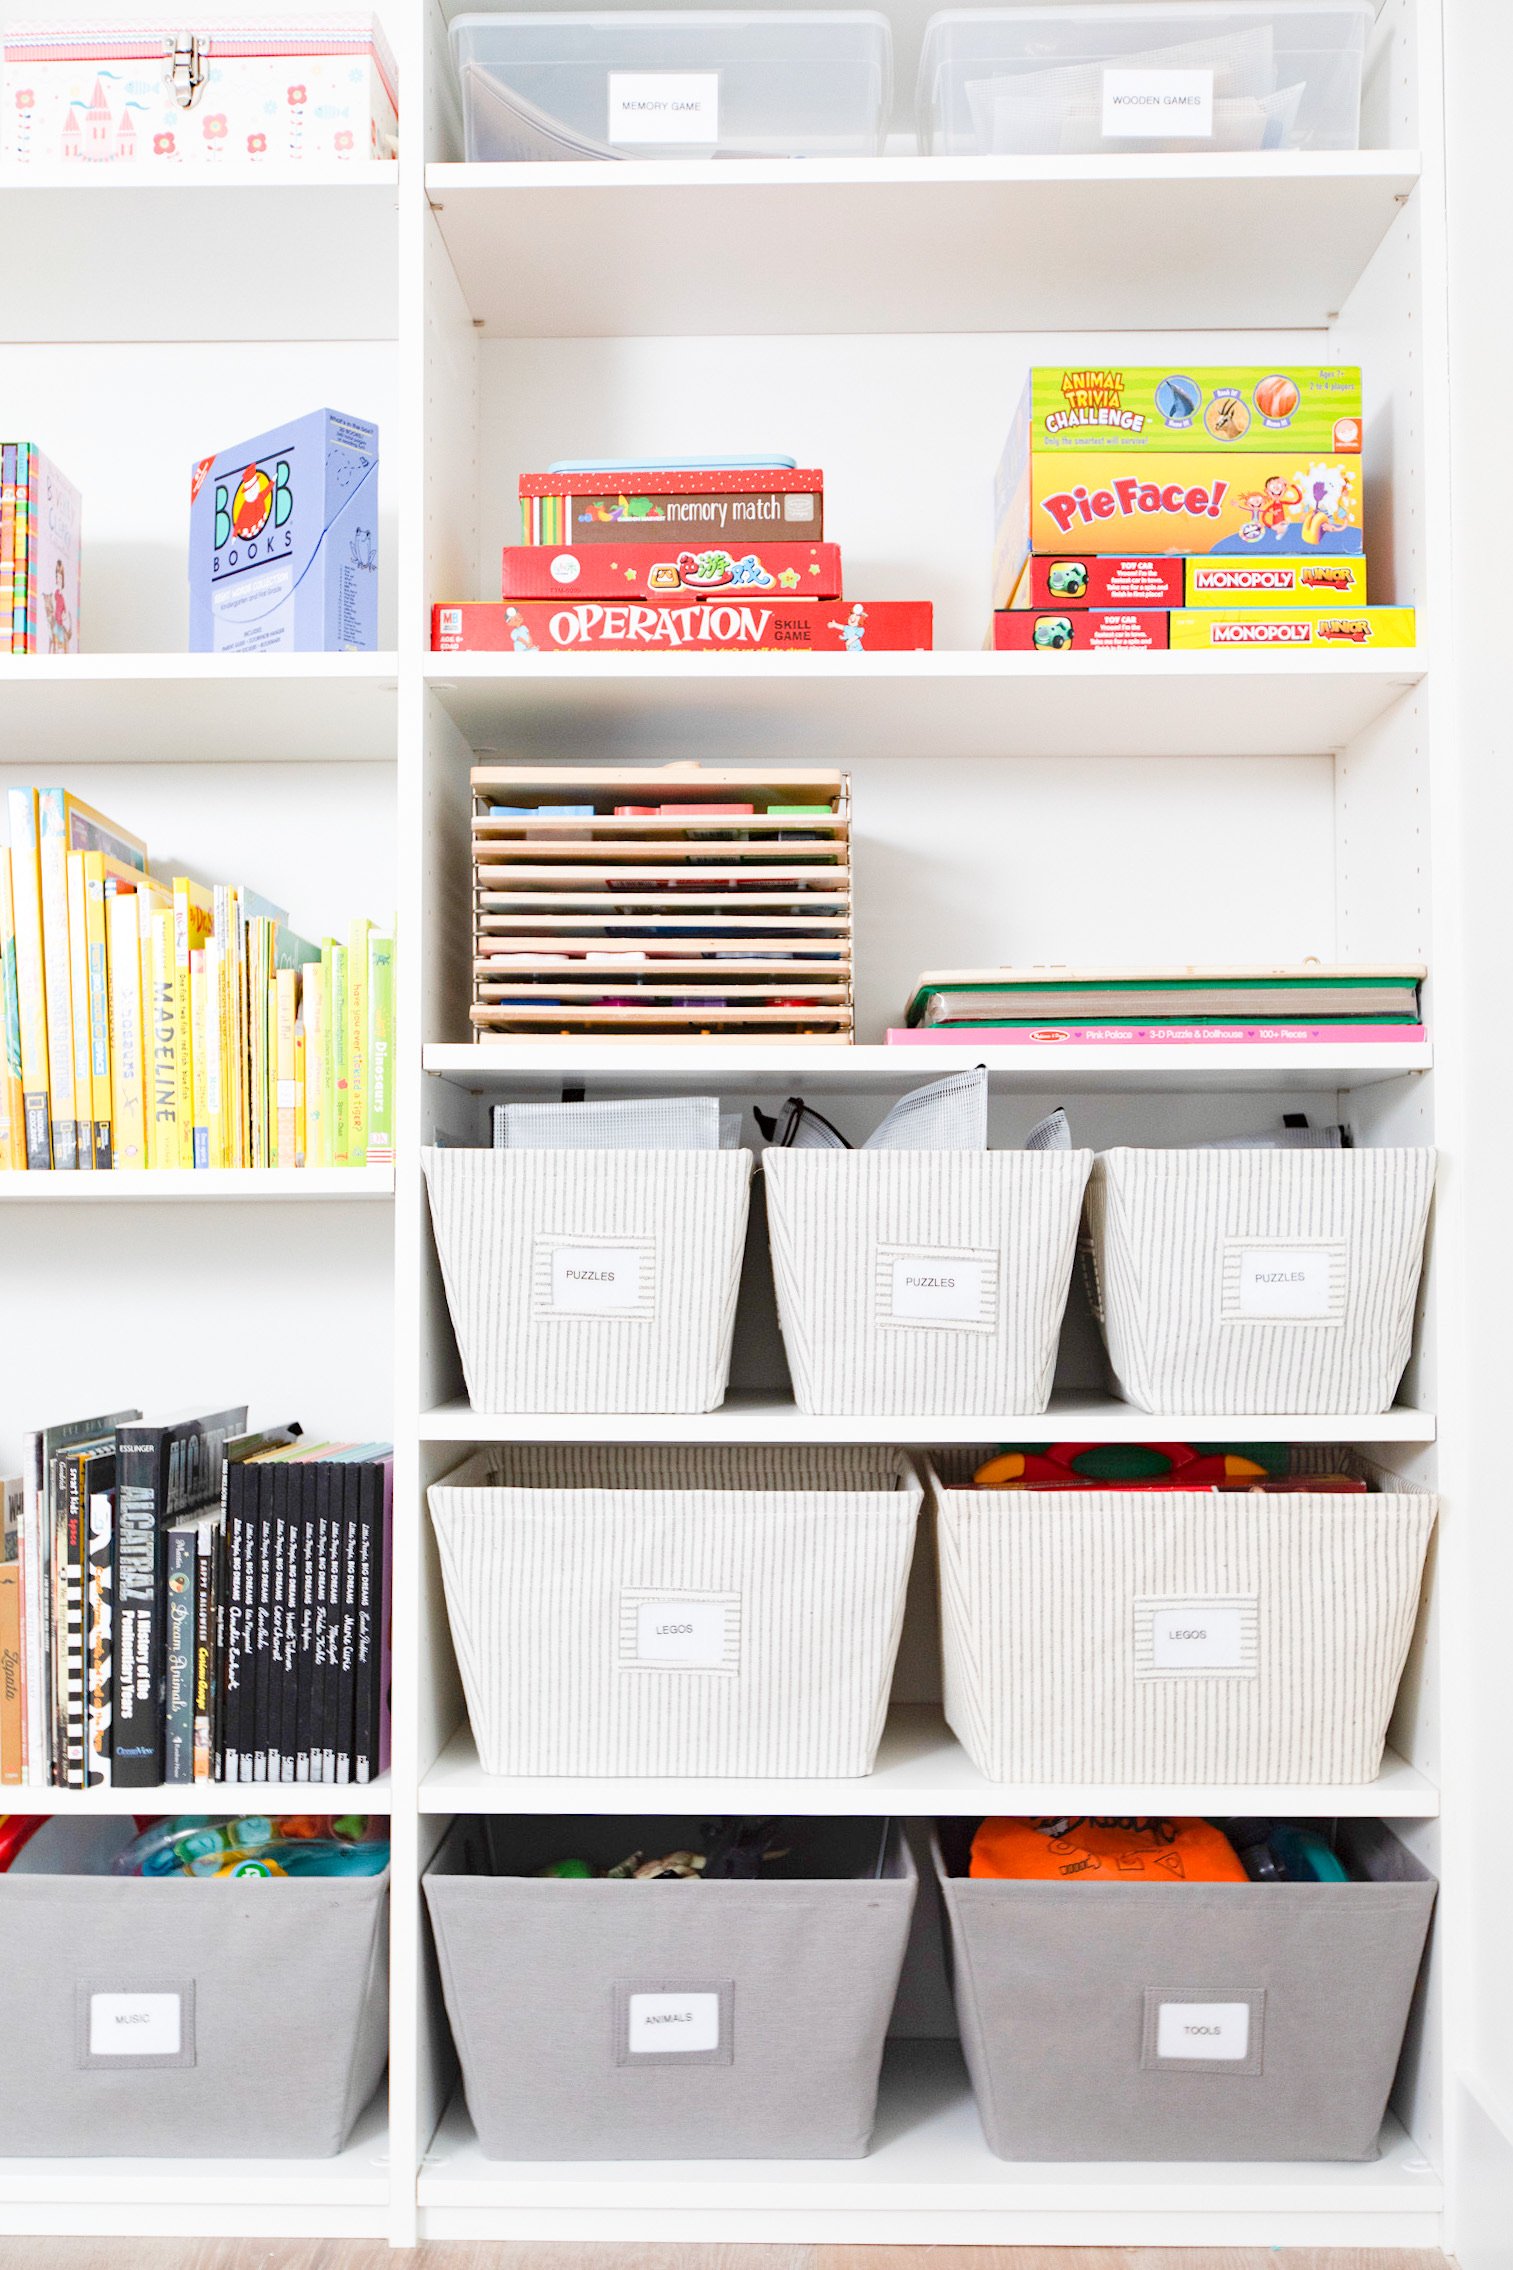
As much as I love the feel of opening a classic puzzle box, most boxes tend to be incredibly space-consuming and bendable. I absolutely love to transfer puzzles to these plastic storage boxes. They take up far less space and are easy to stack in an aesthetic and functional way.
Organizing your boxes will start the exact same way as you did with board games. Gather all of your puzzles and take inventory of how many storage boxes you’ll need. Once you’ve done so, you are ready to transfer puzzle pieces over to each storage box.
From there, you already know how much I love a good label (it’s the step I will forever swear by)! I use the Brother P labeling machine to write out each puzzle title and secure it to the thin end of the storage box. As an added bonus, I like to stack the plastic storage boxes in alphabetical order (tell me you’re Virgo without telling me you’re Virgo). The final step is to recycle those old puzzle boxes of yours.
If you are working with kid puzzles (such as knob puzzles or peg puzzles), I love using this puzzle organizer to keep all the puzzles within an organized system.
It should be mentioned that you can absolutely swap storage options for games and puzzles. If you prefer pouches for puzzles and containers for games, then go for it! Maybe even try both and decide what feels best for you.
Legos
When starting the journey of organizing your legos, I recommend separating them by one of the four ways: shape/size, color, set, or type. Take the time to figure out which of these variables makes the most sense for how you separate your legos (this can also be a fun interactive time for your kid(s) to help you separate like-minded legos)!
Once you decide how to separate them, it’s time to pick how to store them. Here are a few of my favorite storage options for legos.
The pouches come through again! Similar to board games, I love separating and storing legos with these pouches. Label the front of each pouch with the type of lego and then finish it by storing them in a woven basket or maple rack.
These clear and durable shoe boxes from The Container Store are perfect for keeping legos contained. Just like the pouches, make sure to label the front before storing them in a cabinet (or other storage area).
3. Kitchen Bins
If you are working with a larger quantity of legos, I have been loving these kitchen bins. They are still clear so you have the ability to see the legos within and have handles that make them super portable for clean-up time. Per usual, make sure to label the front of the bin before storing.
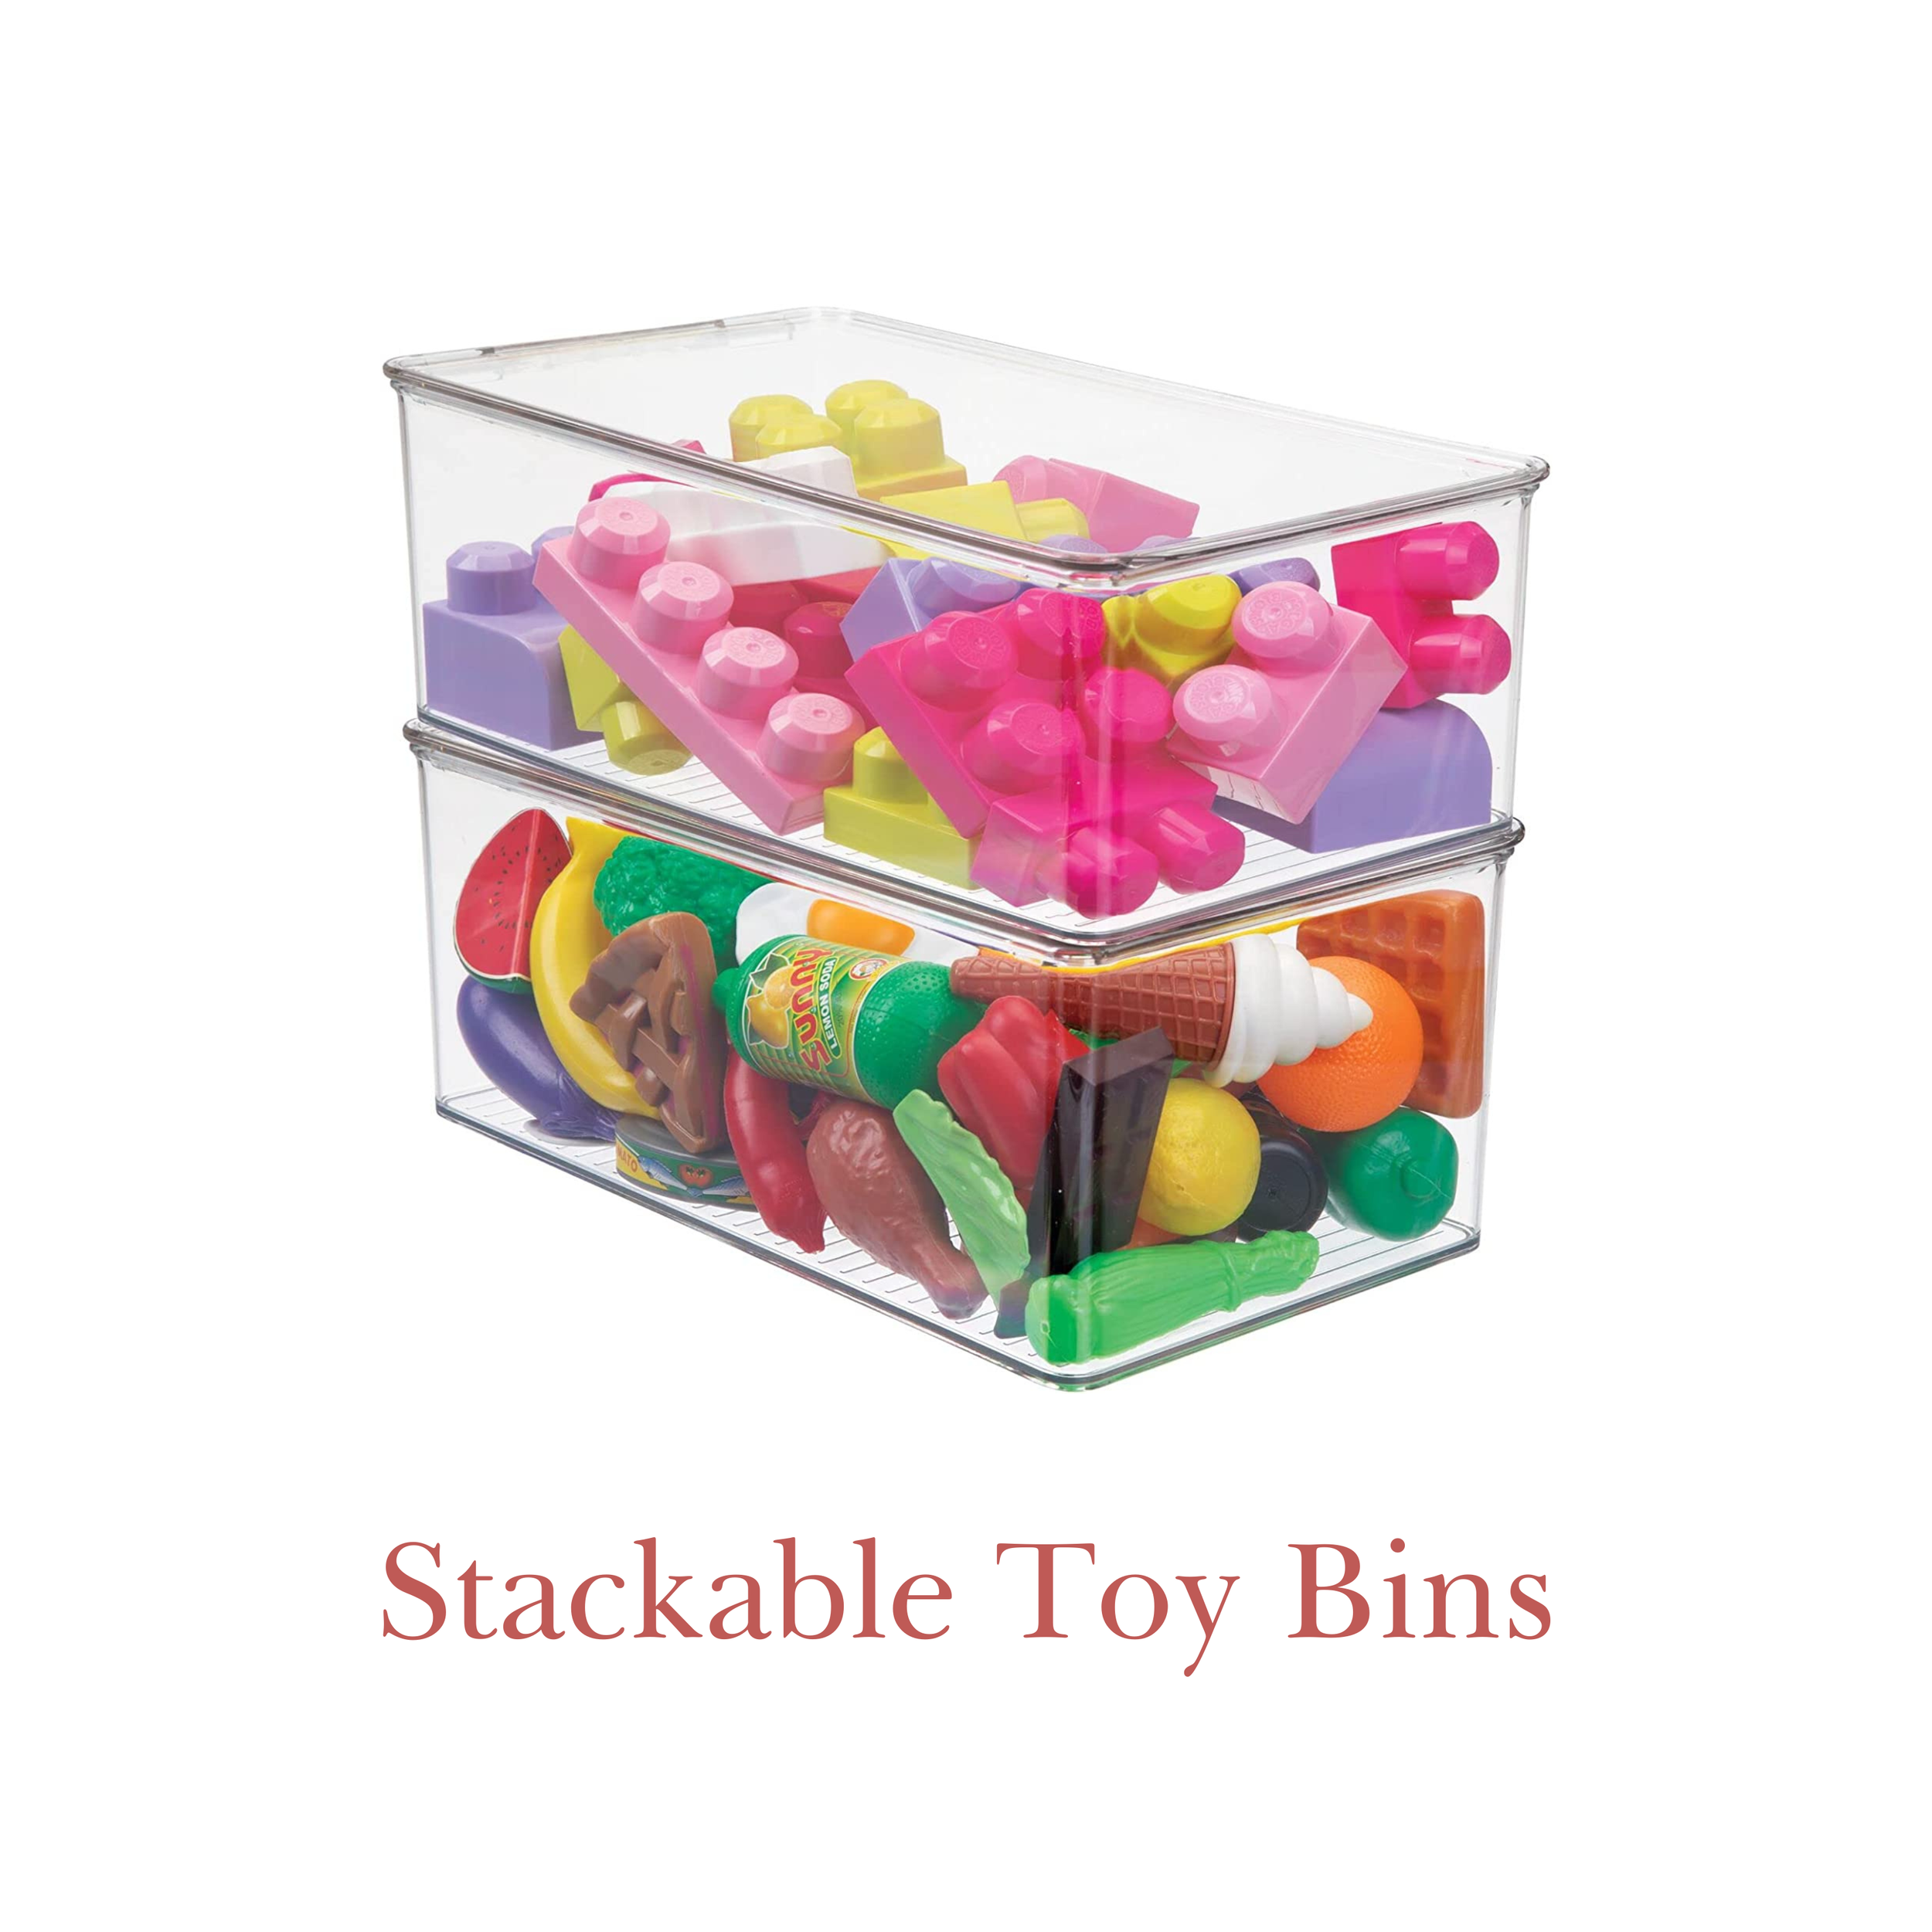
If you have a large amount of variables (aka numerous sizes, shapes, colors etc), you will likely need a stackable option (aka boxes with lids). These storage bins are a perfect option! They stack perfectly and still allow the legos to be visible from the outside. I am sure you already know, but make sure to label before you store!
I cannot wait for you to try these puzzle, game, & lego storage options. Make sure to follow Life In Jeneral on Instagram Reels, Instagram Stories, Tik Tok, and Pinterest for more tips, tricks and products to support you in your organization journey.
xx Jen


